When the vehicle runs 60k-90k miles, there is a noticeable ticking or tapping noise, or engine misfires, especially at idle. After a simple diagnosis, you identify that a faulty timing belt may be the exact cause. Fortunately, you can replace the part at home and follow our guide to restore smooth timing operation.
Pay attention: timing belts are typically designed to match the exact engine type, so their specifications and positioning can vary. In this guide, we provide a common timing belt replacement guide for every engine layout and list safety tips for some specific car models.
How to Carry out a Timing Belt Replacement
Prepare these tools
·Torque Wrench
·Socket Set
·Screwdrivers
·Ratchet and Breaker Bar
How to Replace a Timing Belt
Step 1: Disconnect the Battery.
Park the car in a space or at a workshop to cool the engine at first, and make sure that you remove the battery’s negative terminal before the positive one to disconnect power.
Step 2: Access the Timing Belt.
Disassemble the surrounding parts such as the serpentine belt, the crankshaft pulley, and the timing cover.
What parts you remove depend on the specific model and engine series, like Toyota’s belt timing cover to access the belt.
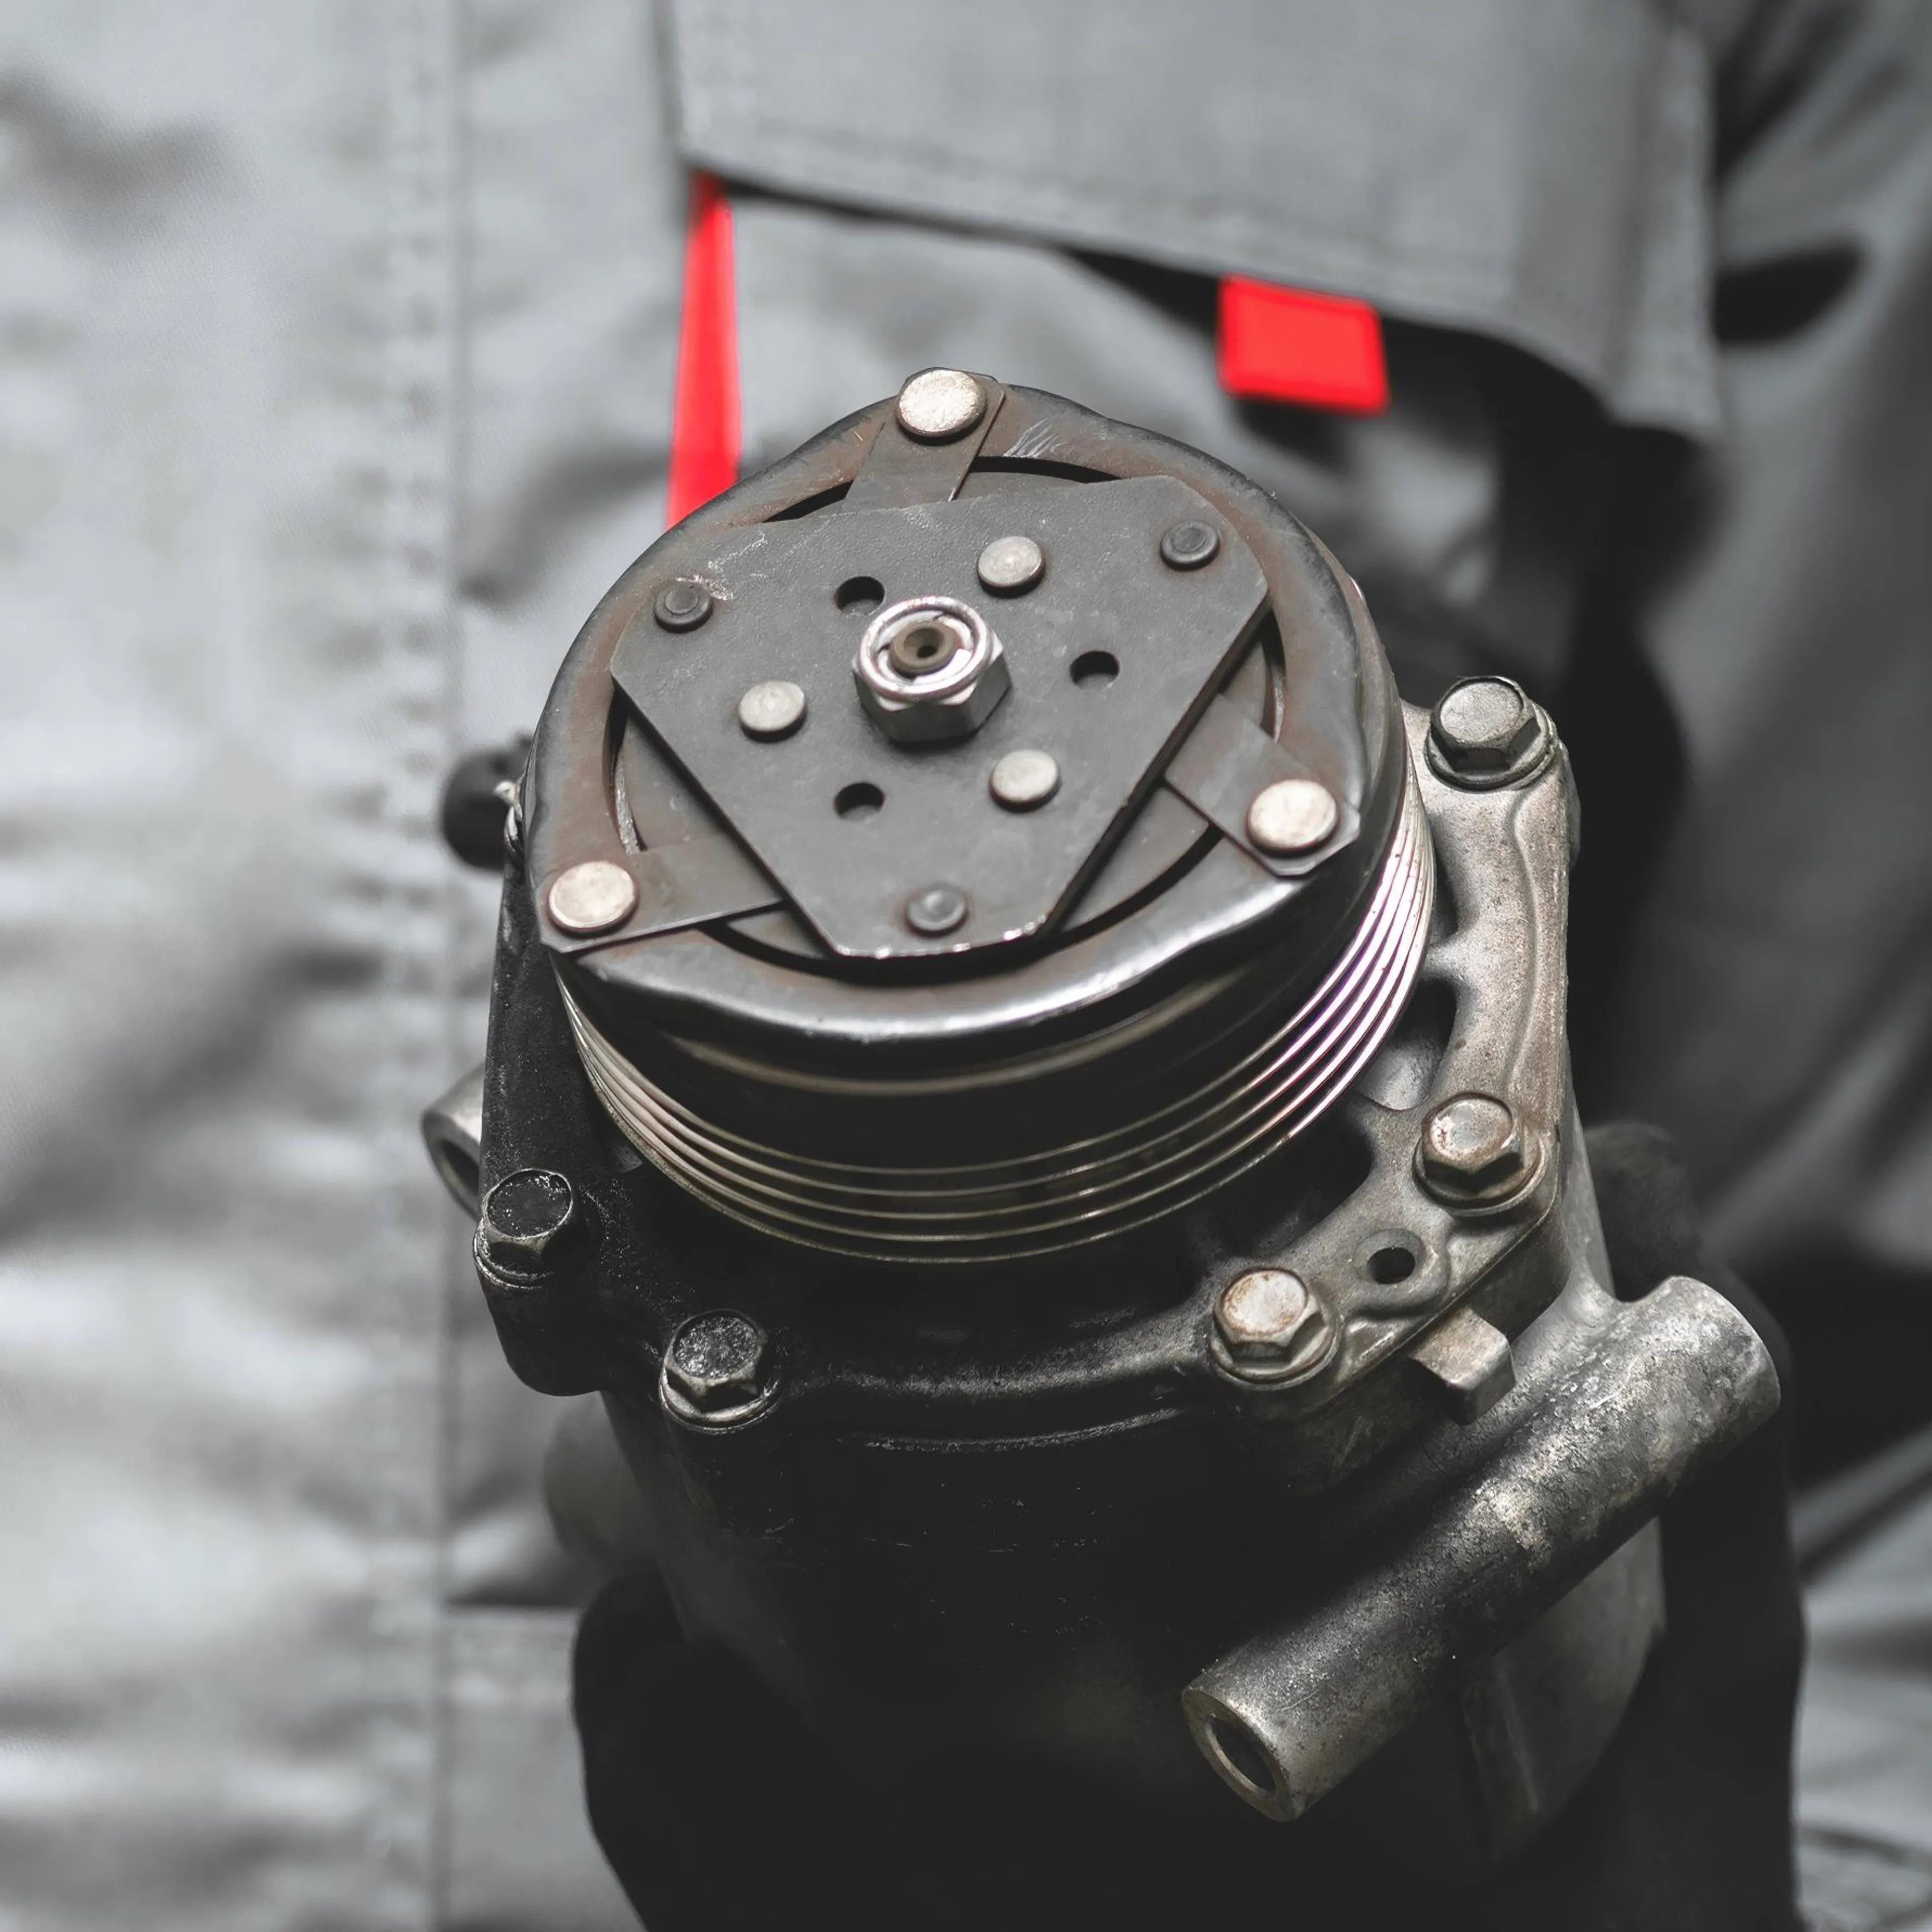
Sometimes, you need to move the AC compressor’s bracket aside to leave enough space for repair. Cautiously don’t disconnect its pressurized fitting, which may cause refrigerant to leak.
For early cars like the 1980s Honda Civic, it’s not recommended to move the distributor cap, as you need to correct ignition timing again. However, you could check it for performance in this repair.
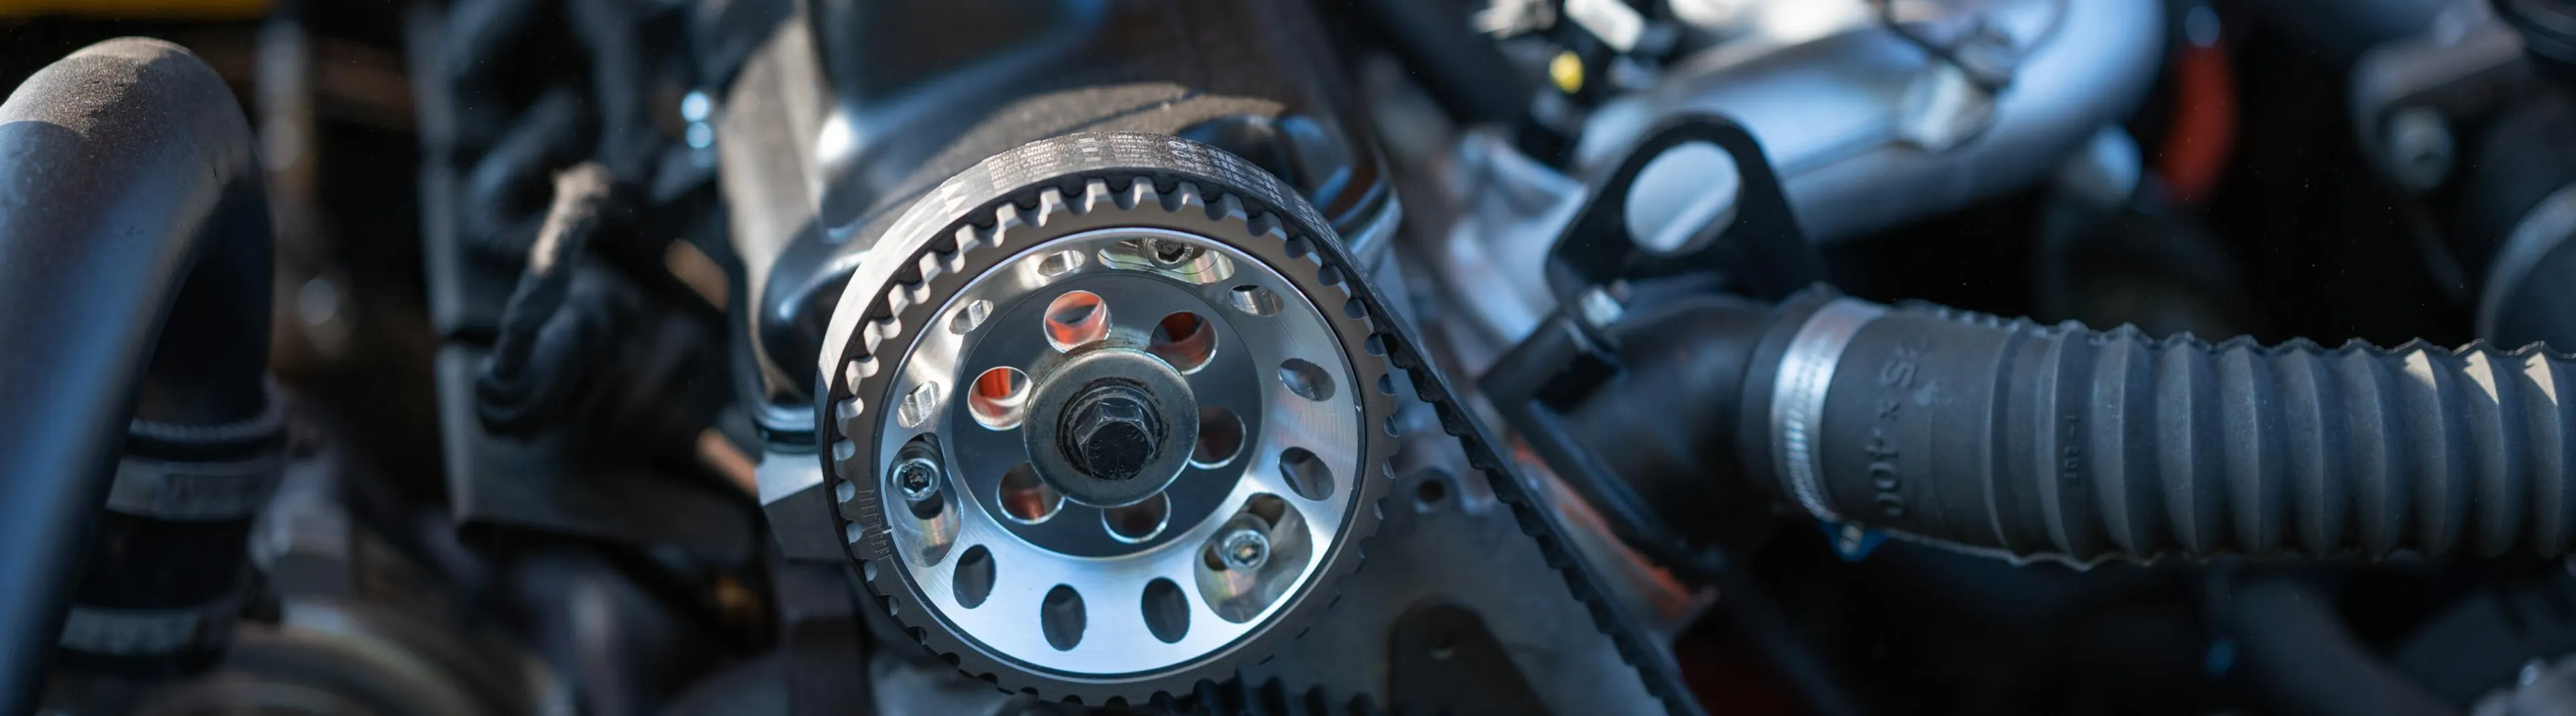
Step 3: Pre-Align with Timing Marks.
Use a wrench or socket to rotate the crankshaft bolt to make sure these markers are lined up.
·A mark on the crankshaft sprocket or pulley aligns with the reference mark of the engine block/timing cover/oil pump housing.
·Ensure the cam gear’s mark points to the cylinder head or timing cover.

In most cases, the alignment means the top dead center(TDC), but you have to identify the position if the timing belt breaks. Verify that Cylinder1 is at TDC on the compression stroke.
There are also safety tips for some drivers:
·For some DOHC engines like Subaru EJ, the cam mark also lines up with another cam’s pointer.
·Early vehicles should make the distributor rotor point at the marker on the distributor housing.
This helps prevent timing misalignment after loosening tension.
Step 4: Release Timing Belt Tensioner.
For most early vehicles, you could simply unbolt the tensioner to release tension (rather than remove the tensioner fully). But if yours is equipped with hydraulic or eccentric ones, you need a manufacturer’s compression or special instructions.
Step 5: Change a New Tensioner.
Don’t use a solvent to wipe the tensioner surface, which could reduce excessive wear and corrosion. You’d better replace the tensioner if incorrect engine timing causes severe damage to it. A failed tensioner shows any visible cracks and dents or produces noises. These symptoms indicate that the old becomes loose or broken sooner.
So, in most cases, mechanics often recommend that car owners replace an old tensioner.
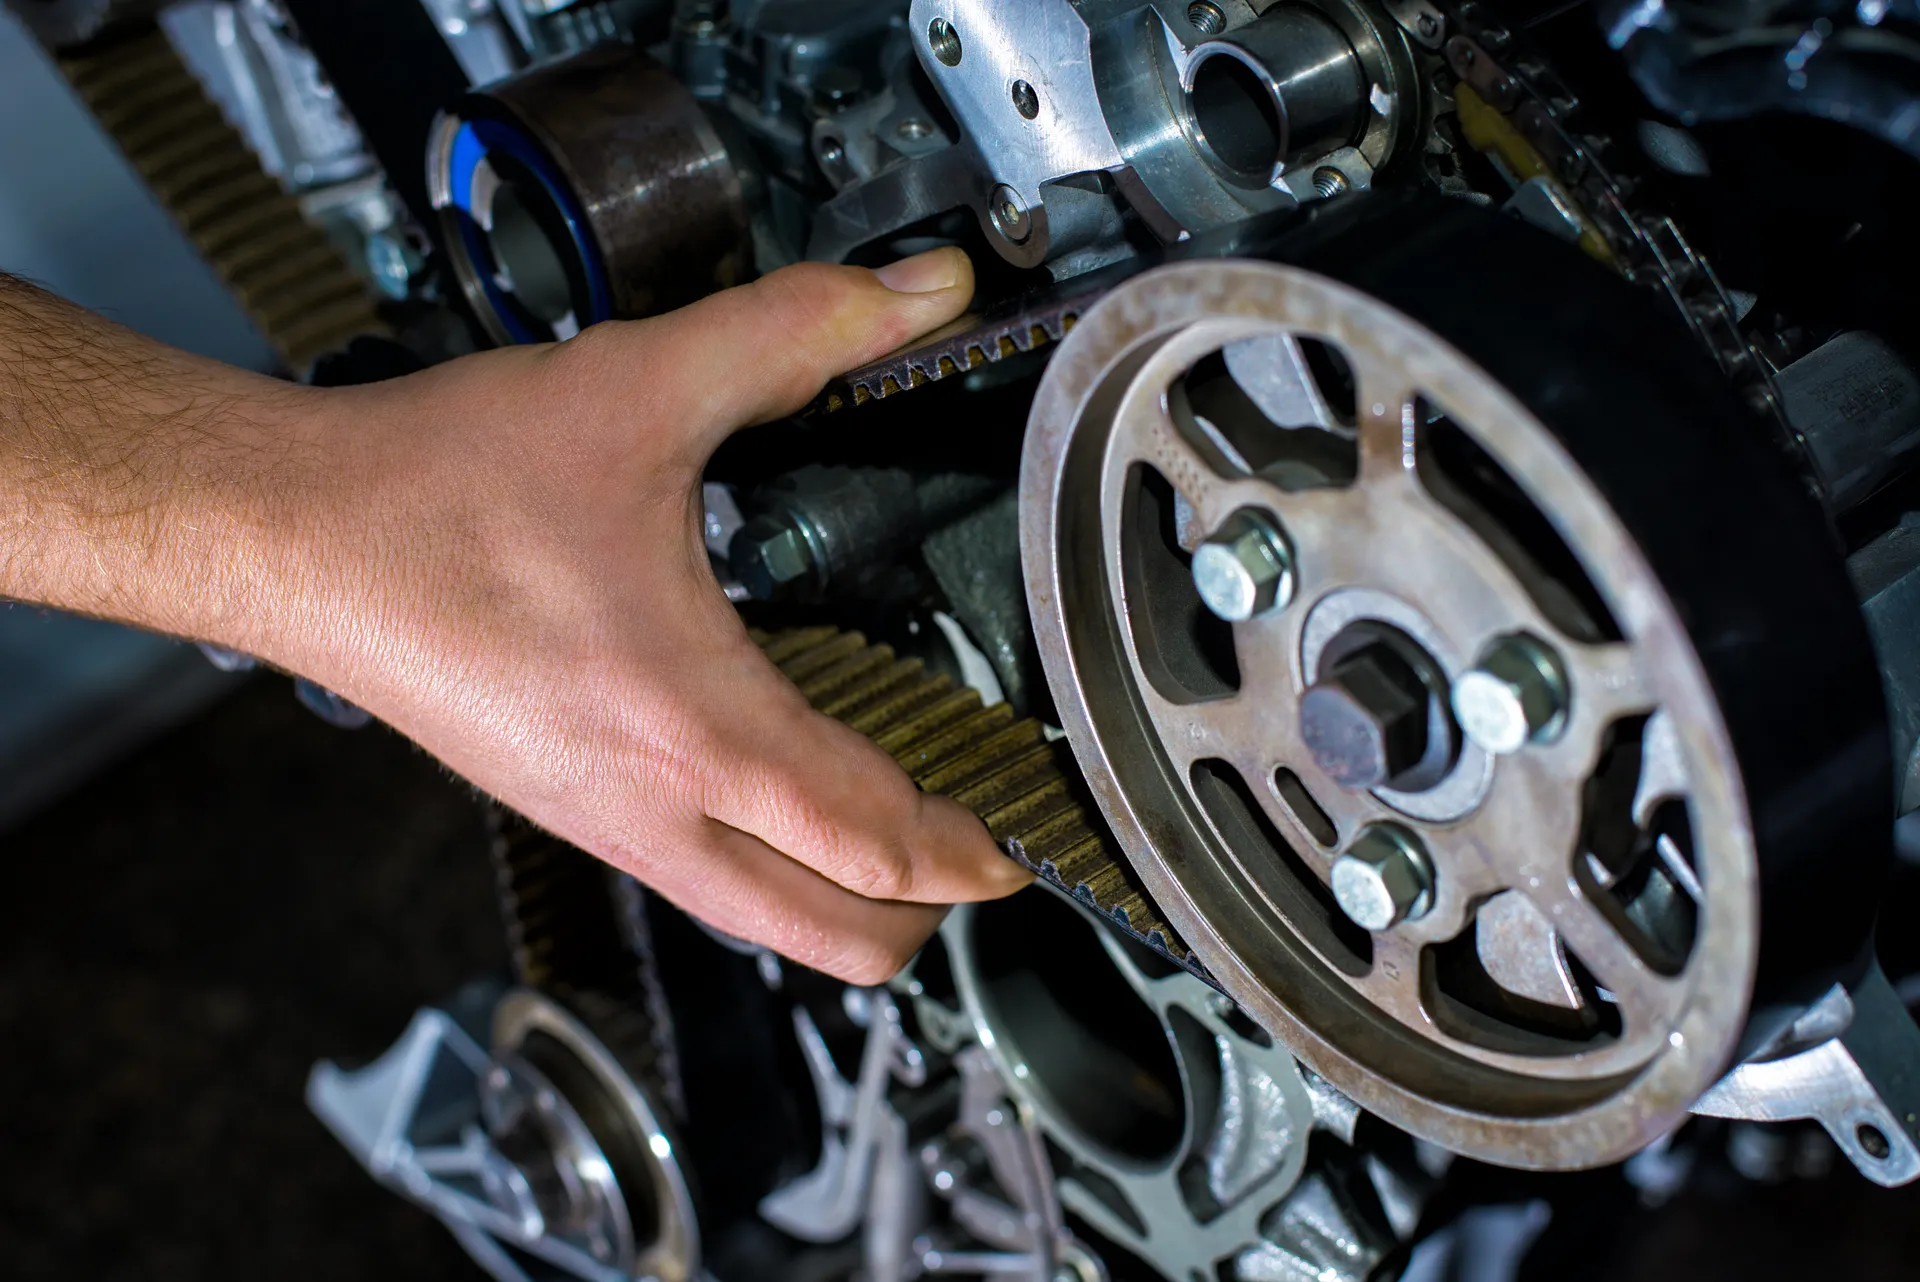
Step 6: Remove the Old Belt.
As the tensioner relieves tension, you could slide it off the pulleys easily. If it sticks in the grooves, pry it off with a screwdriver. However, this step may cause tiny dents.
After taking it out of the camshaft and crankshaft, you need to inspect the old belt's condition: if it has snapped, this means relevant components may have severe wear. You can consider replacing a complete belt kit.
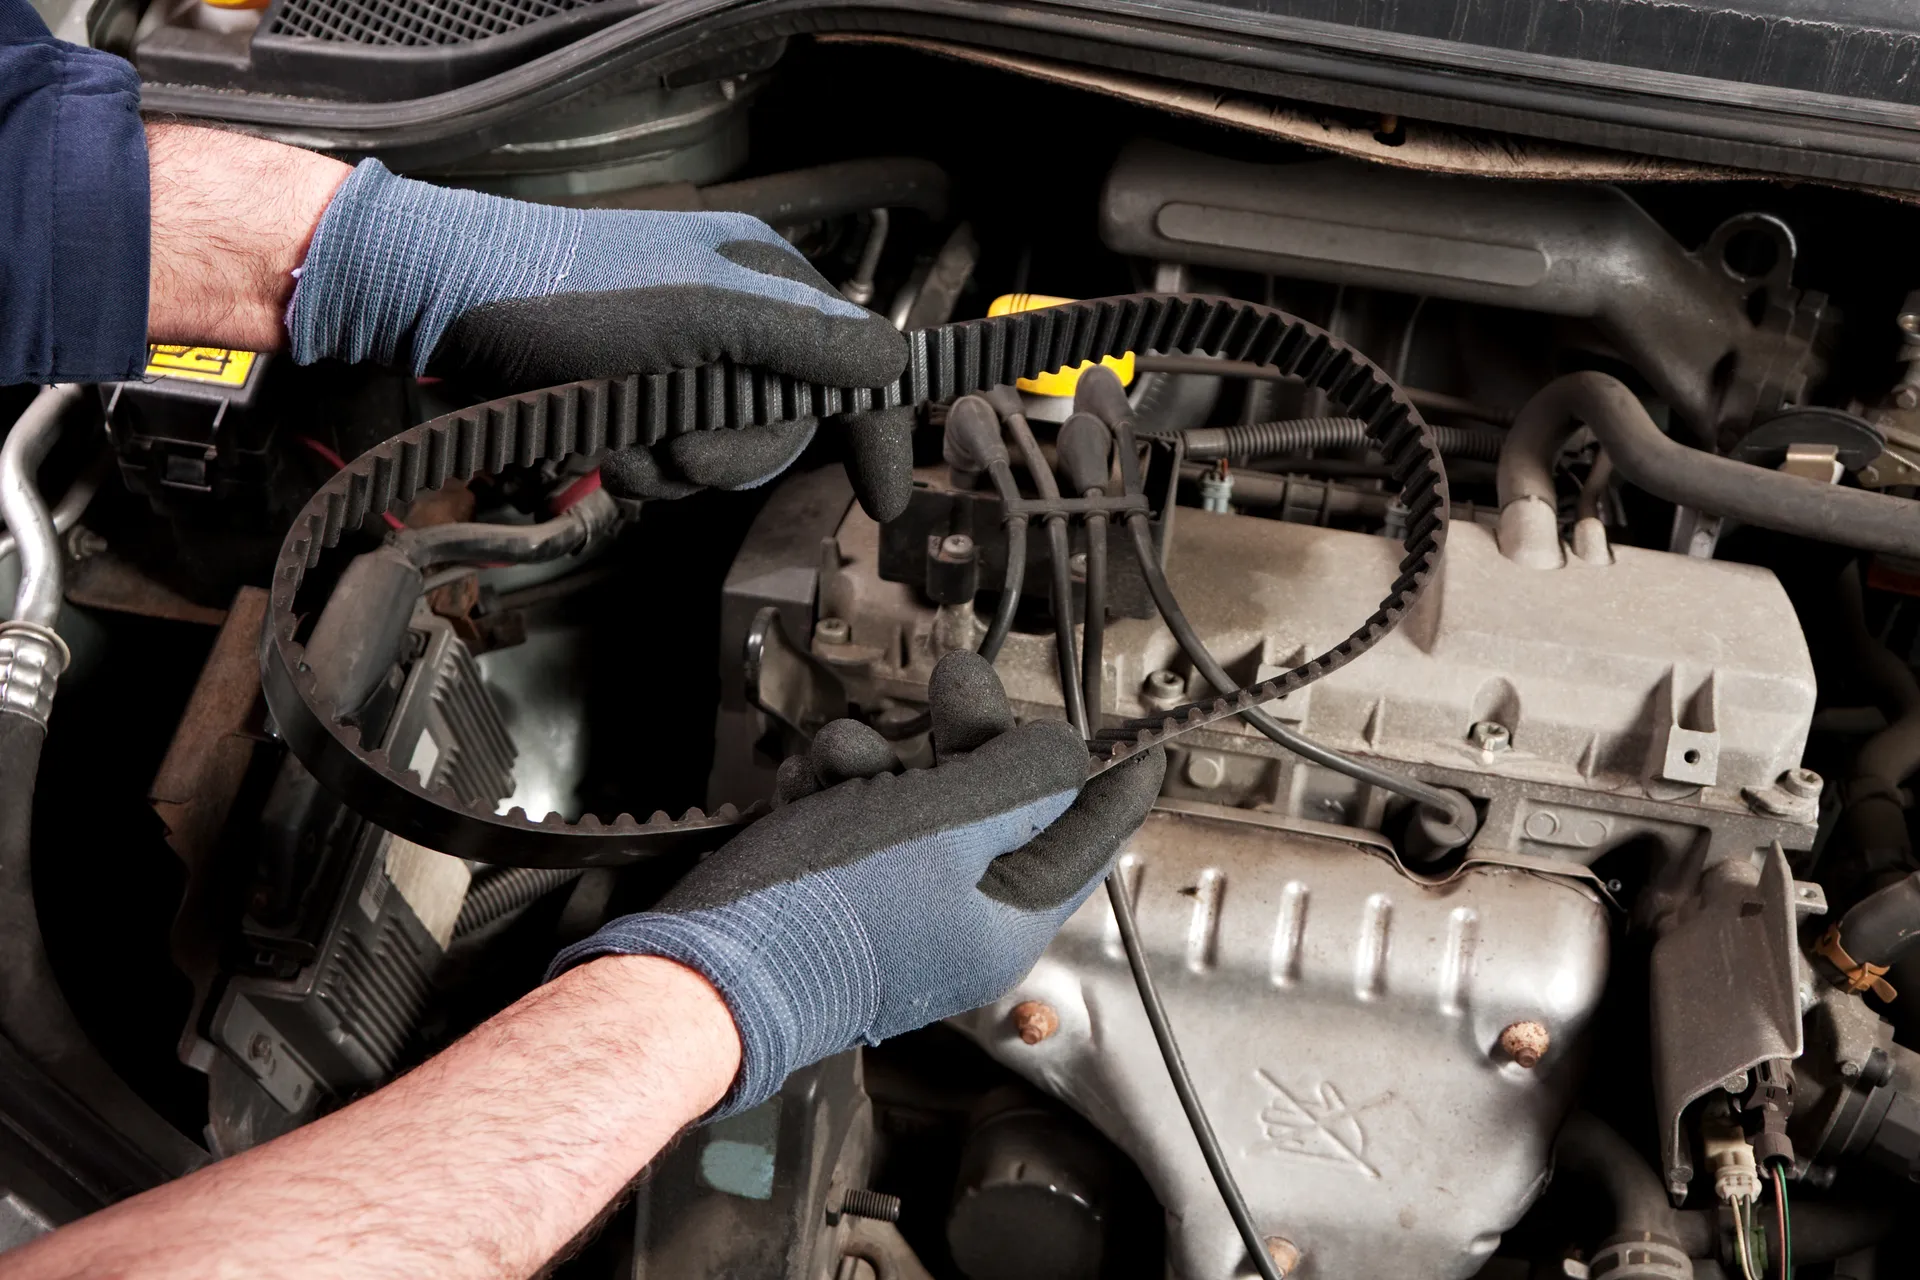
Step 7: Install the New Belt.
Before installation, checking the tooth number of the belt and tensioner matches the vehicle manufacturer’s manual.
Step 8:Rotate the Engine By Hand
After the new timing belt is installed and the tensioner has been released, rotate the engine manually using a wrench on the crankshaft pulley bolt. Turn the crankshaft clockwise through at least two complete revolutions.
Step 9: Test the Alignment.
It’s the most important step to see if three pointers match their separate timing markers: crankshaft timing marks point to TDC; camshaft timing markers are towards the block’s; and some old cars’ distributor rotors point at the housing’s.
When you find misalignment, you should release the tension, remove the belt, and re-align the markers. Finally, reinstall the belt and tension it.
Then, tension the timing belt according to your engine specs.
Other Components May Be Changed During the Timing Belt Replacement
When replacing a timing belt, it's often a good opportunity to service other related components as well.
In addition to the timing belt tensioner mentioned above, consider replacing the water pump, especially if the timing belt drives it. Since many removal and installation steps overlap, replacing both parts at the same time can save labor and help prevent future repairs. An aging water pump may fail long before your new timing belt reaches the end of its service life, potentially leading to coolant leaks and engine overheating.
Depending on your vehicle, timing belt replacement may also require removing accessory drive belts, such as the alternator belt, power steering belt, or air conditioning compressor belt. Take a close look at these belts while they are accessible. If you notice cracks, fraying, glazing, or other signs of wear, replacing them now can help prevent additional maintenance work later.
While this guide focuses on the timing belt replacement, many modern engines use a timing chain instead. Both components serve the same purpose: keeping the camshaft and crankshaft synchronized. However, they differ in replacement and repair costs. If your Ford Explorer uses a timing chain, read our Ford Explorer timing chain replacement cost guide to understand the typical expenses associated with this repair.
FAQs
Where is the Timing Belt?
It's located in front(or side) of the engine or behind the timing cover.
Why Does the Timing Belt need to be Changed?
The engine timing system relies on the belt to synchronize the camshaft and crankshaft. If the belt fails, this could cause premature wear on other timing parts, leading to reduced engine performance.
When should the timing belt be replaced?
The timing belt should be replaced after the replacement interval. Also, there are some warning signs, like the vehicle misfiring, rough idle, or noticeable vibration, that indicate the belt is already off.
How Much is a Timing Belt for a Volvo S60?
Most 2001-2018 S60 vehicles are equipped with the timing belt that also drives the water pump. In some cases, it’s recommended to replace the old pump as well. So the total replacement cost for early S60 may range between $1,000 and $2,000, while the belt price is around $30 to $300.
How Long Does It Take to Change a Timing Belt on A Car?
4-6 hours, it may take less than 4 hours when performed by an experienced mechanic. The exact replacement time depends on three core factors: car model, engine layout, and repair experience.
How Do You Find TDC?
TDC means the piston operates at the highest point inside the cylinder. After off the car, you could remove the spark plugs and rotate the crankshaft to see if the piston reaches the highest position. Pay attention, it’s important to identify the cylinder on the compression stroke, ensuring proper timing alignment.
Related Article
How to Replace Door Lock Actuators: A DIY Step-by-Step Guide
A closer look at door lock actuator faults and the replacement process.
Feb 27, 2026
How to Replace An AC Compressor: A Comprehensive Replacement Guide
Replace the bad AC compressor to restore its cooling performance.
May 05, 2026

How Often to Change Cabin Air Filter on a Honda Civic
Inspect your cabin air filter for common signs and replace it using this guide.
May 23, 2026