An air conditioning compressor plays a crucial role in pressurizing and circulating the refrigerant through the AC system in a car. It pushes the refrigerant into the condenser to release heat, then to the evaporator, where it absorbs heat from the cabin and produces cold air. When it fails, this may affect the cooling performance significantly. In this guide, you can change the bad AC compressor to restore the cooling efficiency.
Common Signs of A Failing AC Compressor
A bad AC compressor not only affects driving comfort but also puts extra load on the engine. If you notice the following symptoms, have it inspected by a professional mechanic to confirm the exact issue.
·Strange Noise from Compressor
This may be due to a worn clutch, bearing, or failing pulley, causing grinding, squealing, or rattling noises.
·Refrigerant Leaking
Refrigerant often flows through the lines of the AC system. If it leaks, you may find a noticeable hissing noise. However, loose O-rings or worn hoses may also lead to the same issue.
·Warm Air from the Vents
When the AC compressor clutch cannot engage properly, it may flow warm air instead of cold air, no matter how you regulate the temperature. Also, the low refrigerant level does not keep up with optimal cooling performance anymore.
·Visible Damage
You may find visible cracks on the compressor housing, oil, and refrigerant residue around seals. Or, the internal pulley assembly is damaged.
·Excessive Cycling On and Off
If the AC compressor is cycling on and off frequently, this indicates a worn clutch, a lack of refrigerant, or sensor failure. The sensor fails to signal, and the clutch does not respond to the signal in time, and the lower refrigerant level makes the compressor continuously work to reach the set temperature.
Before AC Compressor Replacement
If you have experienced DIY and auto repair, you can fix the bad AC compressor. The following tips may assist you in completing the replacement safely.
·Park your car in an open space.
·Use a recovery machine to remove the refrigerant, as releasing it into the atmosphere is illegal.
·Disconnect the car battery to prevent electrical shock.
·Prepare the AC Compressor that fits your specific car model.
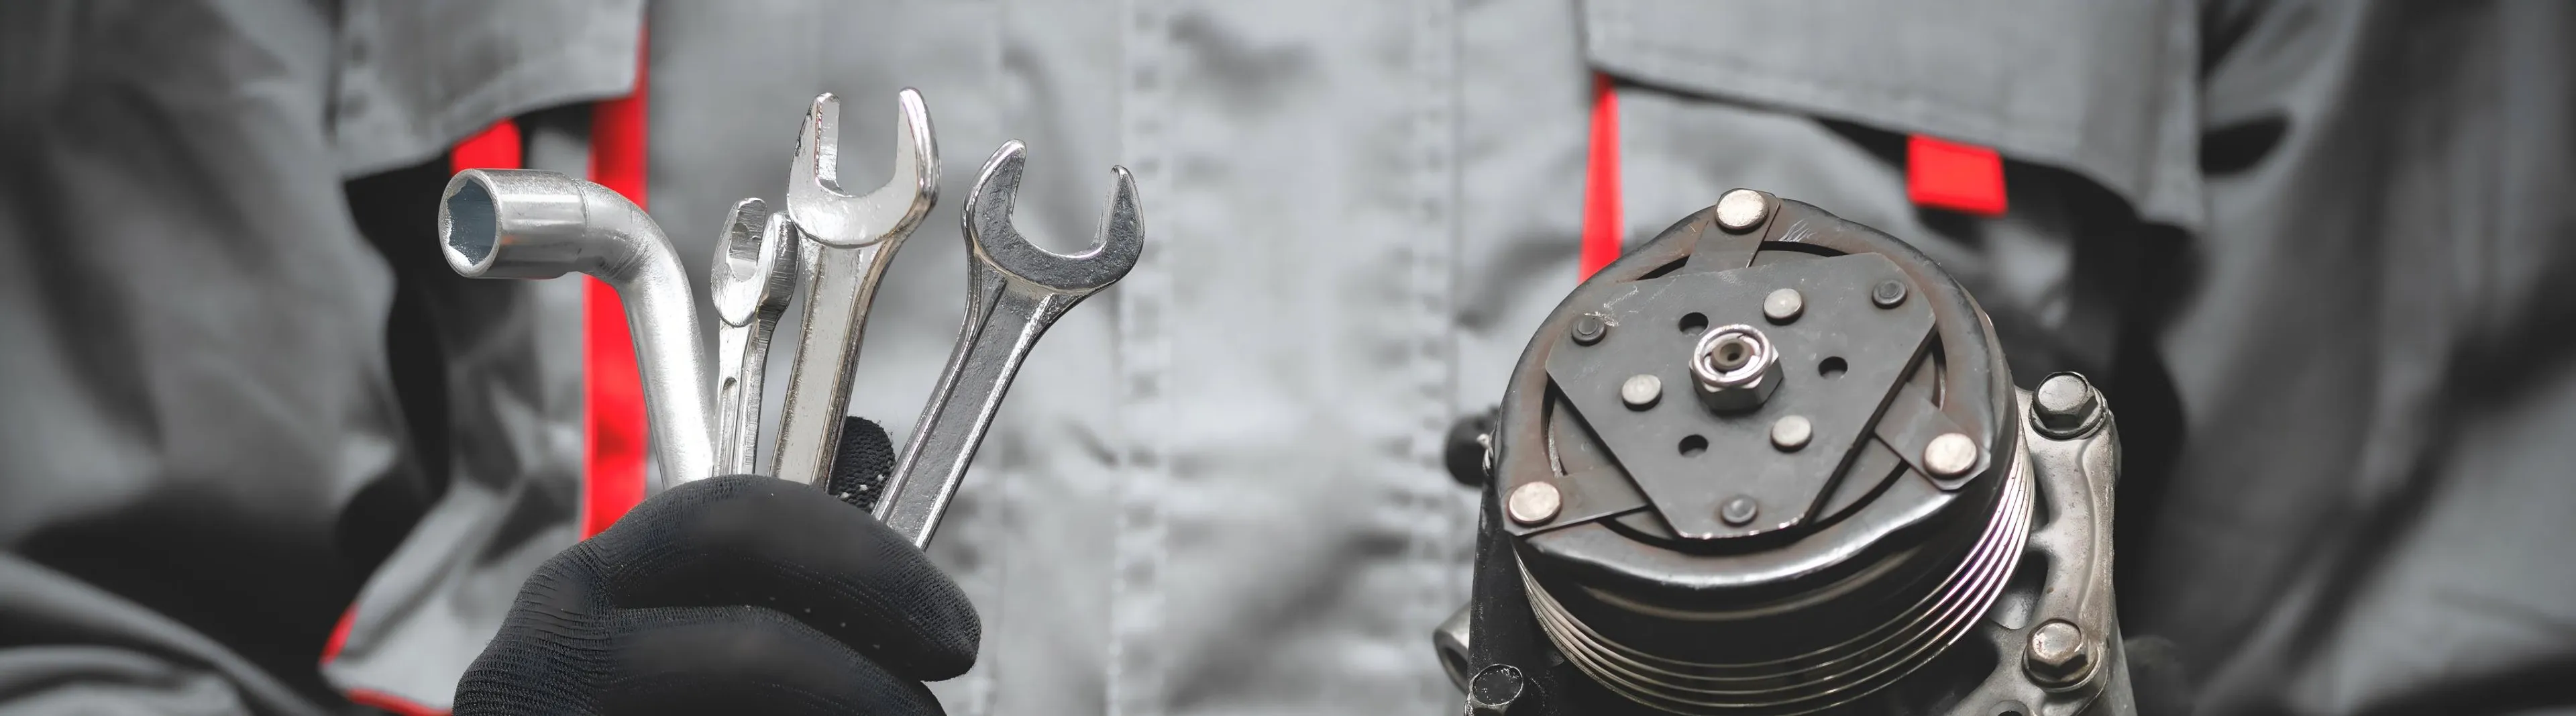
Tools Preparation
Changing the failing AC compressor requires the basic tools, but also some specialised tools.
·Wrench and socket set: disconnect mounting bolts that secure the AC Compressor.
·Screwdrivers: remove electrical connectors.
·Serpentine belt tensioner tool: a special tool to loosen the serpentine belt safely.
·Recovery machine and vacuum pump: evacuate the refrigerant before replacement, and remove air and moisture from the AC system.
·AC mainfold gauges: test and monitor the pressure during the recharging.
·Safety gloves and glasses: protect against refrigerant exposure and electrical shock.
How to Replace An AC Compressor Step by Step
The AC compressor replacement process typically takes 3 to 5 hours, depending on experience and vehicle type.
Step 1: Evacuate the Refrigerant
How you extract the refrigerant properly is related to the compressor’s performance. Refrigerant leaking may cause damage to the skin and respiratory system, affecting health. Also, it could be corrosive to the other components. Using the recovery machine to evacuate the refrigerant or looking for a car mechanic to assist you can save much time and effort.
Step 2: Locate the AC Compressor
It’s often at the front of the engine, and the compressor clutch is driven by the serpentine belt.
Step 3: Disconnect the Battery
Remove the car battery’s negative terminal, then the positive one.
Step 4: Disconnect the Serpentine Belt
Using the serpentine belt tensioner tool, you can release the belt pressure and remove it smoothly.
Step 5: Remove the AC Compressor’s Mounting Bolts and Refrigerant Lines.
Disassemble all the bolts at first, then remove the lines. There is a chance to check the lines and O-rings for wear, corrosion, or damage. At the time, you can clean any dirt and other contaminants to avoid tiny cracks.
Step 6: Extract the Electrical Connectors
Disconnect the electrical connectors attached to the clutch.
Step 7: Remove the Bad AC Compressor
Once all the connections have been removed, you can lift the compressor out of the mounting position.
Step 8: Replace New O-rings and Seals
New O-rings and seals can fit the refrigerant lines to avoid leaks.
Step 9: Lubricate Refrigerant Lines
Apply the correct type and quantity of oil to lubricate the lines.
Step 10: Install the New AC Compressor
Place the compressor in the original position.
Step 11: Reinstall the Refrigerant Lines and the Serpentine Belt
Reattach the lines and belts. Remember to secure all those mounting bolts and don’t leave anyone.
Step 12: Remove Air and Moisture From the AC System
Using a vacuum pump, you should evacuate air and moisture from the AC system before refrigerant recharging. This could ensure proper cooling performance and prevent the system from internal corrosion.
Step 13: Check for Leaks
After evacuation, it’s essential to ensure optimal sealing. You can ask mechanics or auto repair shops for professional checks. They often pressurize the system with dry nitrogen or inspect the connections, hoses, and compressor seals with soapy water to diagnose if the system leaks.
Step 14: Recharge the Refrigerant
Recharge the correct type and amount of refrigerant according to the vehicle’s specifications and service manual. Use an AC manifold gauge set to ensure proper pressure and fill levels.
Step 15: Check the AC System’s Performance
Reconnect the electrical connectors and battery. Start the engine and turn on the AC system. Check for unusual noises, verify that air cools properly, to ensure that the compressor operates as expected.
Conclusion
Replacing an AC compressor is a DIY job for car owners if you follow the proper procedure and use professional tools. From safely evacuating refrigerant, removing all the old units, to installing the new AC compressor, replacing the O-rings and seals, and recharging refrigerant, each step plays a crucial role in restoring cooling performance.
FAQs
Why Is My AC compressor failing
This is often due to refrigerant leaking that leads to loss of lubrication. Excessive friction may cause the AC compressor to malfunction.
Is It Safe to Drive with a Bad AC Compressor?
When you turn off the AC system or the AC compressor pulley still spins freely, it’s fine to drive with a failed one for a short time. But once this develops serious issues, such as the compressor seizing, the related components may be damaged.
How Does the AC Compressor Replacement Cost?
The total replacement may cost $500-$1000. The parts mostly cost $200; however, labor costs may be more expensive than parts for specific luxury or European cars.
Can a Bad AC Compressor Affect Fuel Efficiency?
Yes, especially when the compressor is seized, it may strain the engine and consume more fuel.
How Long Does It Take to Replace An AC Compressor?
It often takes 3-5 hours to complete the replacement without a vacuum. If the system needs to be evacuated or recharged, it can take an additional 2 to 3 hours.
How to Put Oil in an AC Compressor
After removing the AC compressor, you should empty the oil that is present first, then add the correct amount of oil into the intake port. Rotate the clutch and sit the compressor for 10 minutes. Finally, install the new AC compressor and related components.
Related Article

How to Replace Door Lock Actuators: A DIY Step-by-Step Guide
A closer look at door lock actuator faults and the replacement process.
Feb 27, 2026

Why Is My Car AC Blowing Hot Air? 5 Common Causes
A woman fanning herself in a hot car.
May 14, 2026
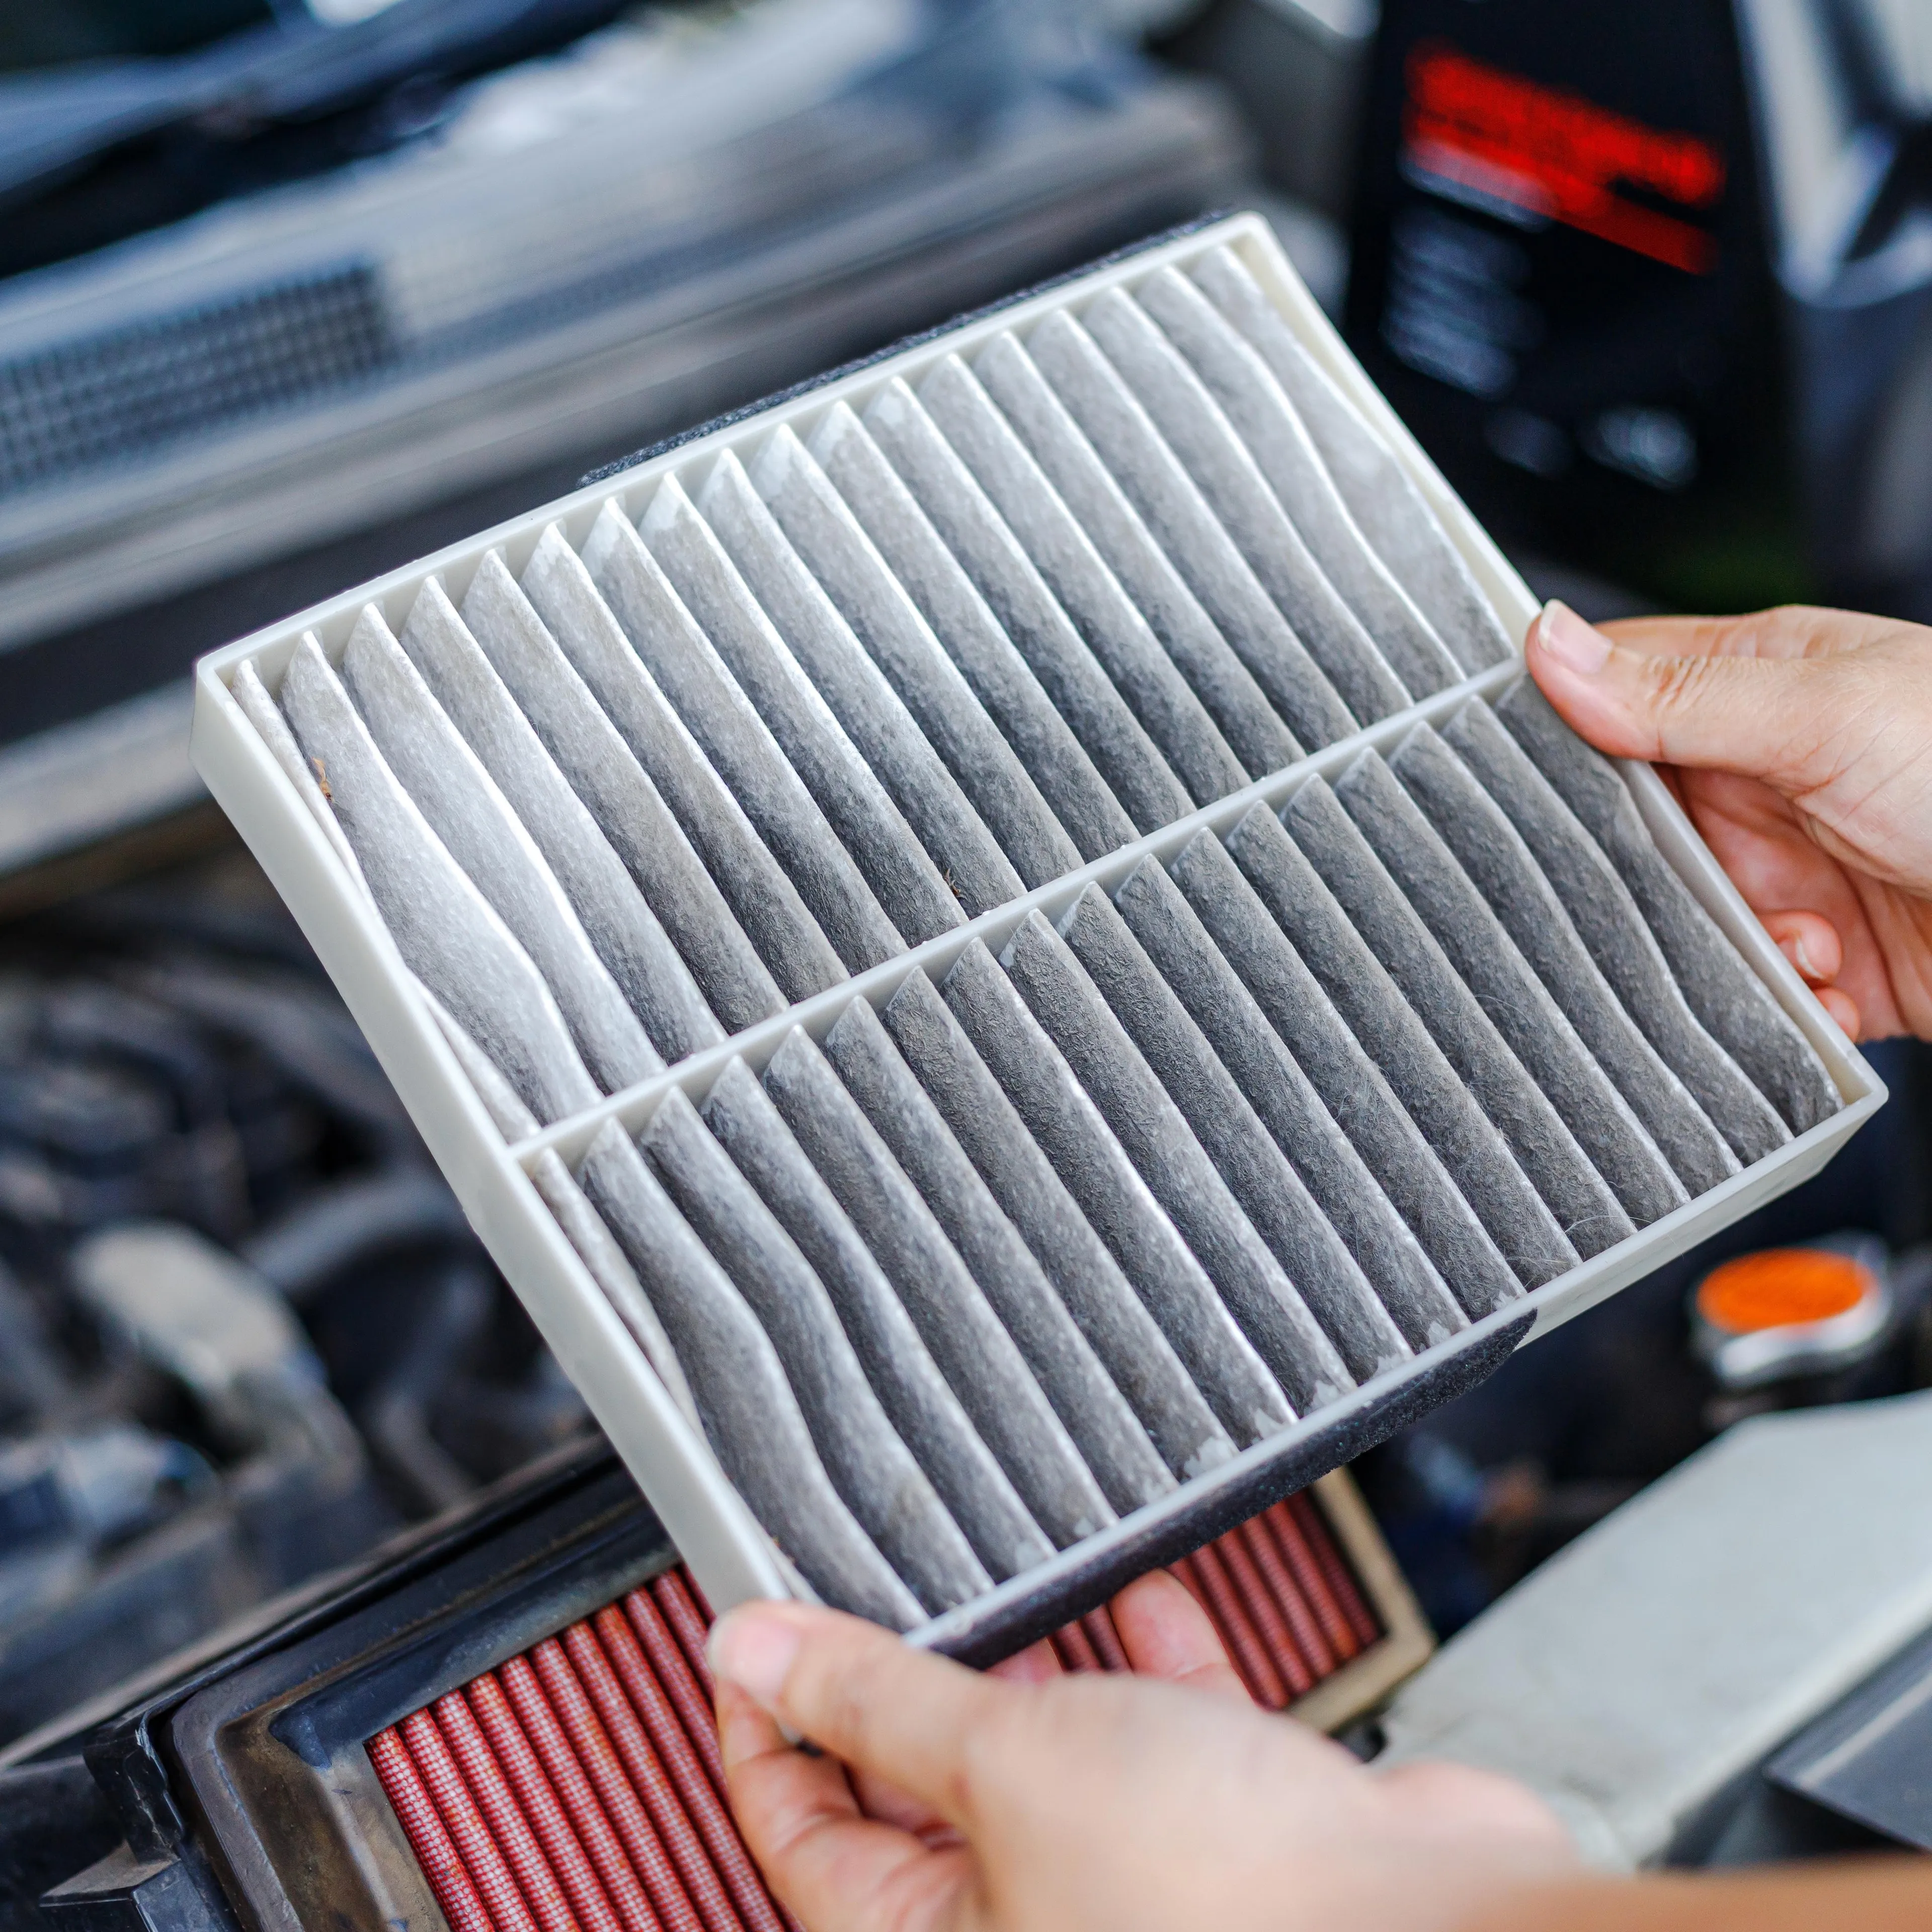
How Often to Change Cabin Air Filter on a Honda Civic
Inspect your cabin air filter for common signs and replace it using this guide.
May 23, 2026
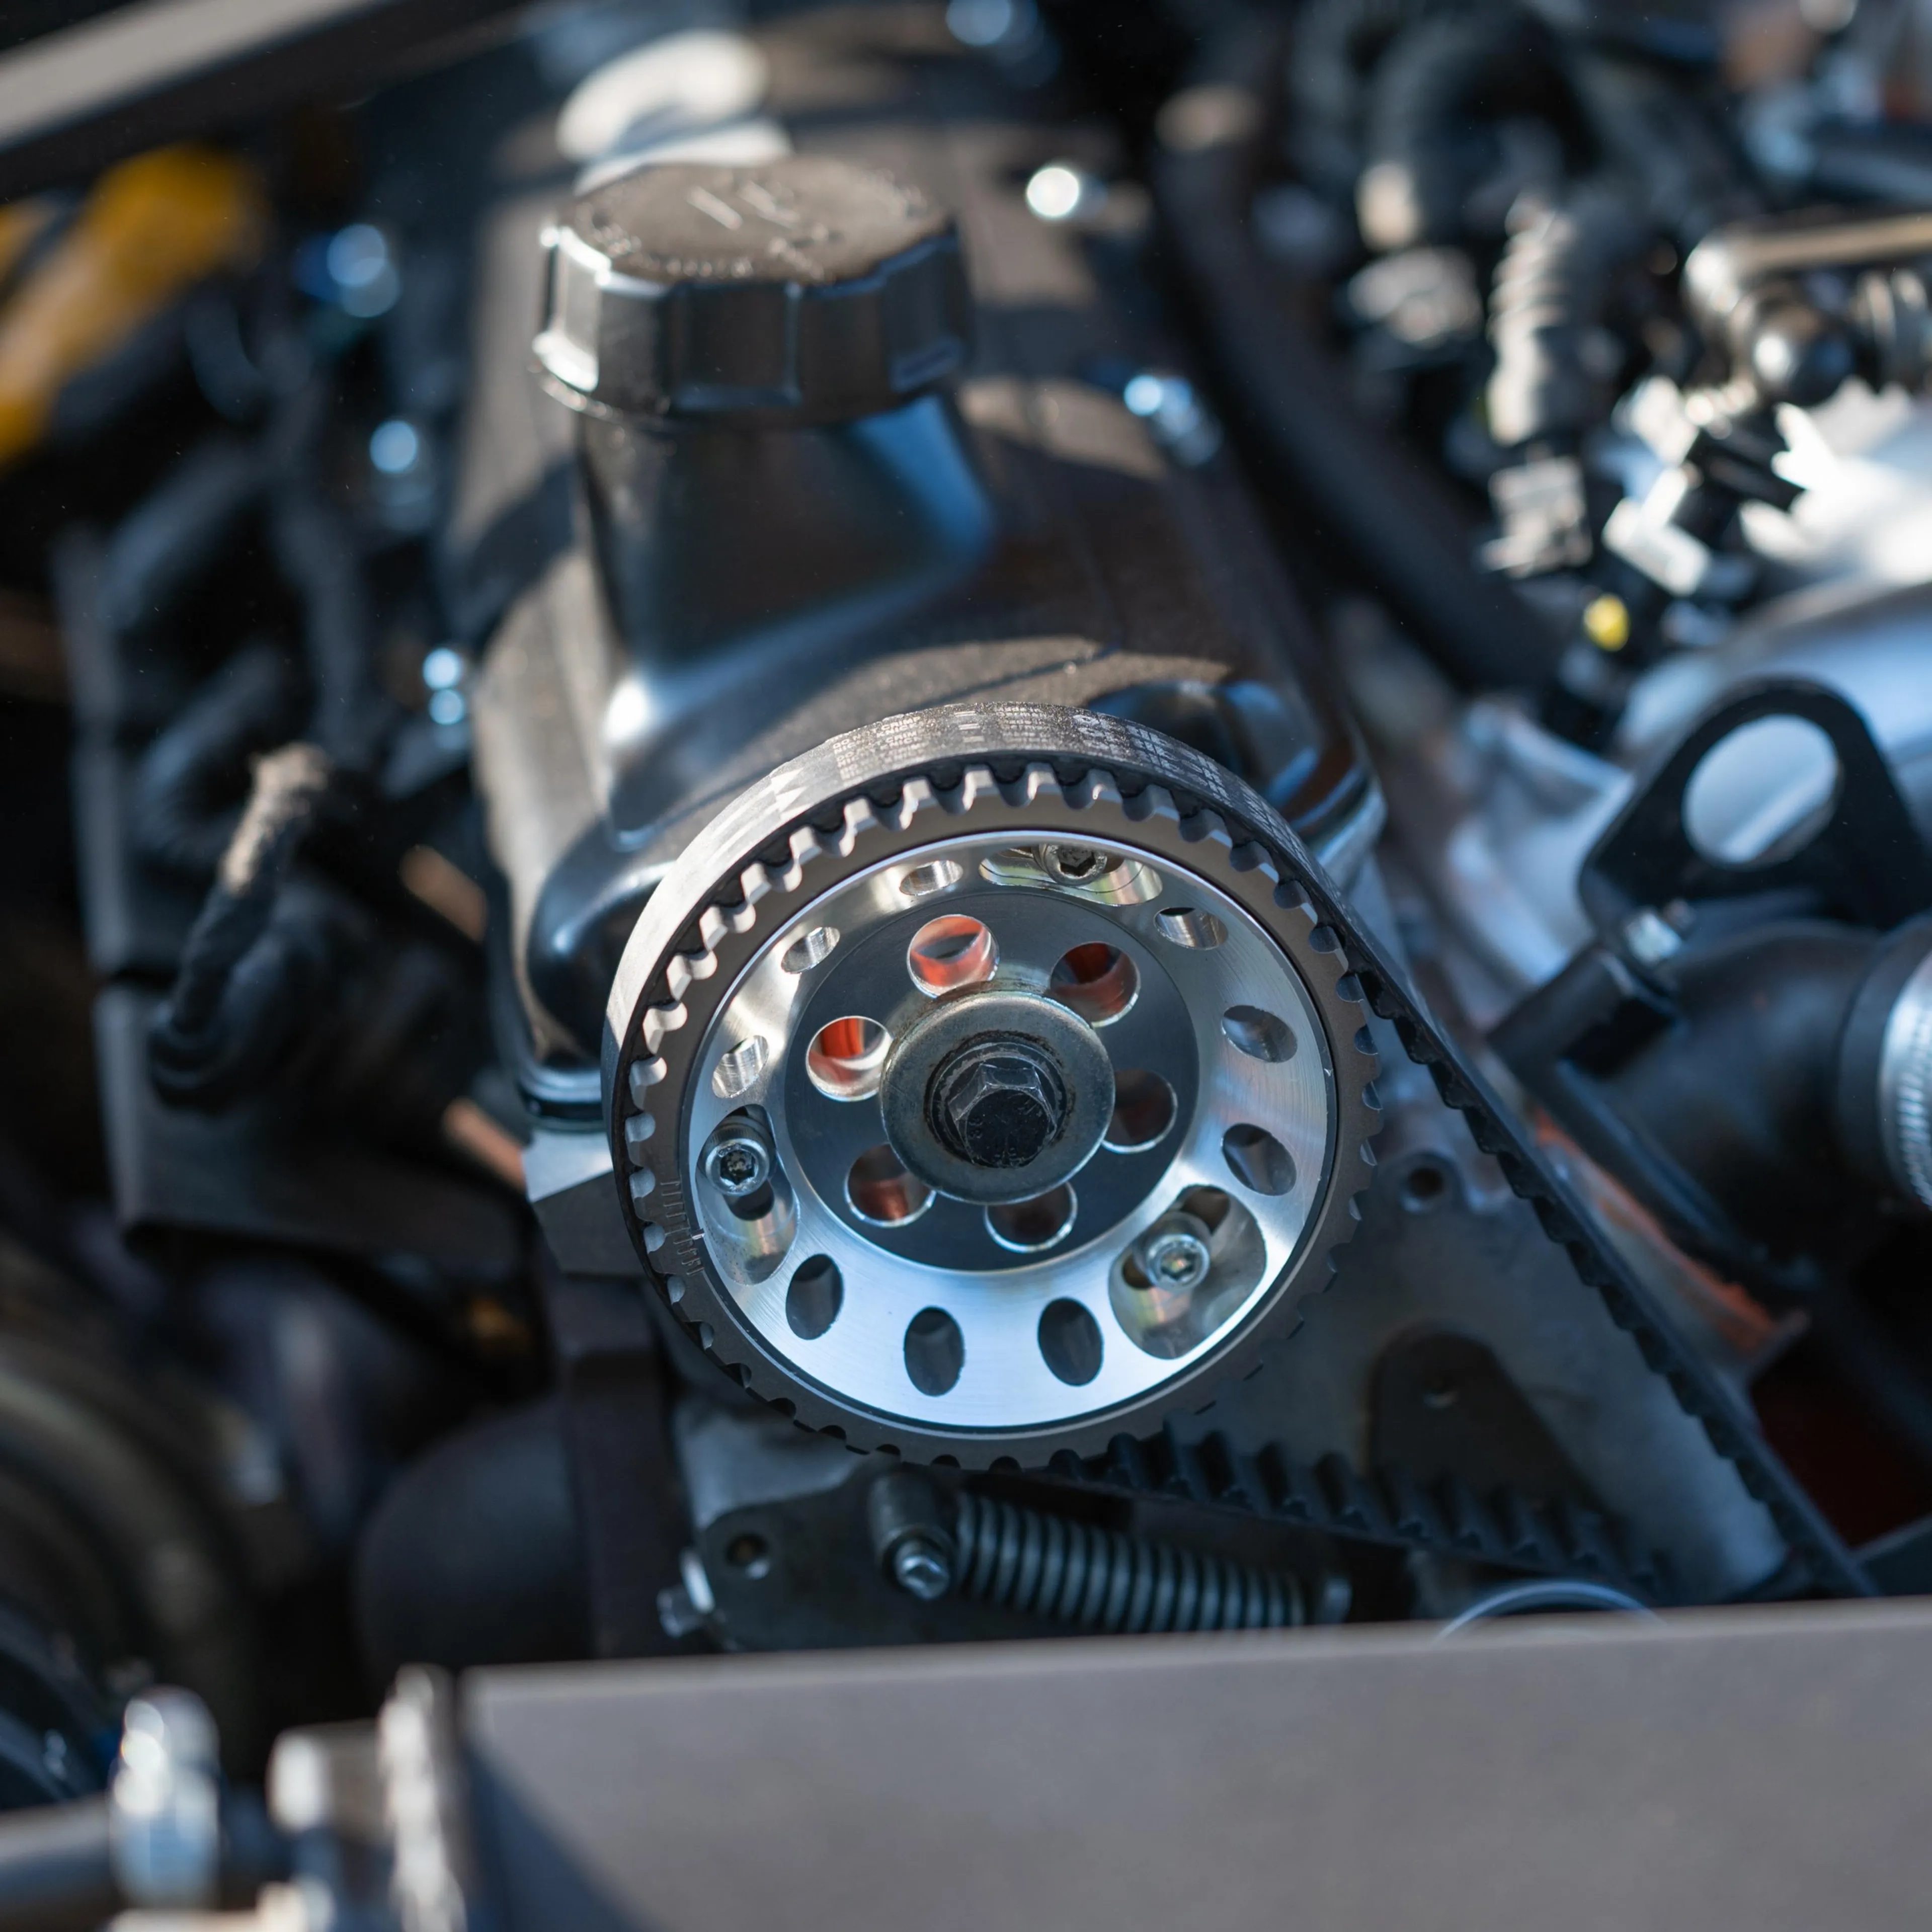
How to Install Timing Belt: Step-by-Step Guide
Remove a belt? Align with two timing marks? Release the tension? Read this guide before replacement
Jun 01, 2026